 |
| Look at all those shoes....Yikes! |
 |
| Before |
 |
| Before |
 |
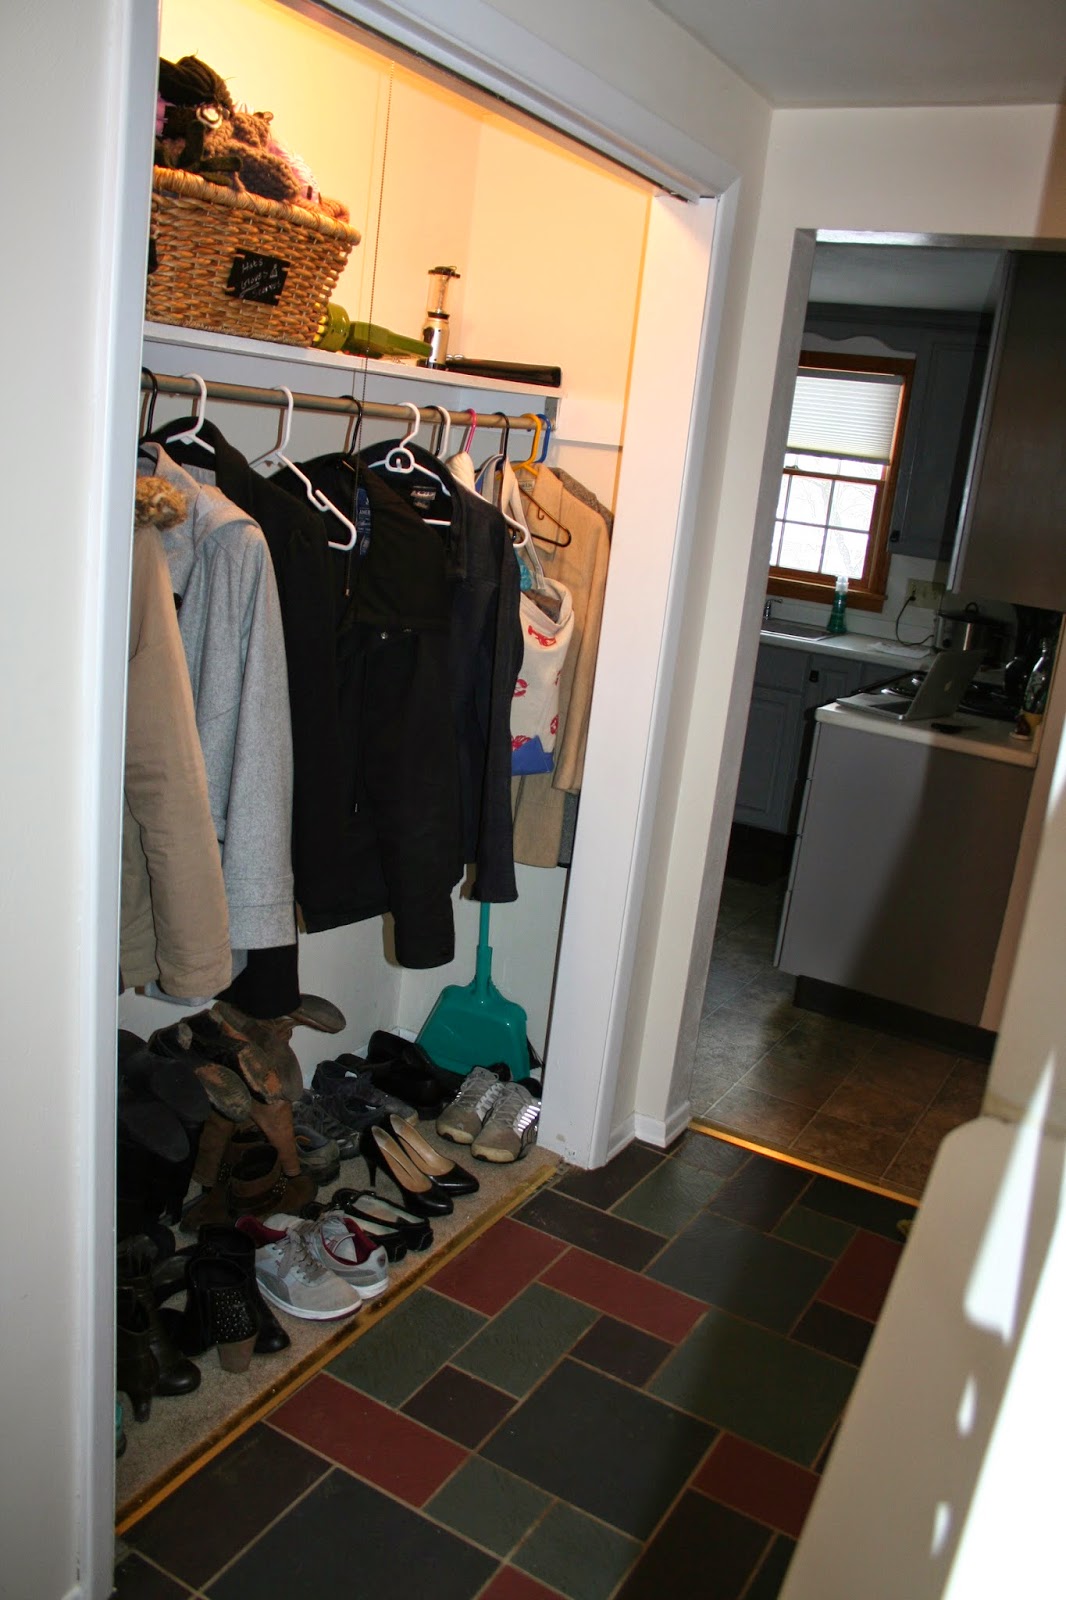
| Before |
And here are the AFTERS! I really love how it all turned out. Jon did a great job, as usual!

We turned the hall closet into a little 'mudroom'/bench area. Jon painted the inside the same light gray (Sedate Gray by HGTV for Sherwin Williams) we used going up the stairs and in the upstairs hallway. The trim and door are just a plain white. He also took out the metal hanging bar and added the hooks. He then made the bench from scratch. We weren't sure in the beginning how we were going to finish it off. Doors? Baskets? Rolling carts that fit under the bench? But in the end we decided just making doors would be best because we could just close the doors on the shoe clutter! And look at that... All of our shoes (OK...MY shoes!) are now nicely hidden under the bench.

We enlisted the help of my mama to make the cushion. She and I made a trip to JoAnn Fabric's where I picked out this fabulous fabric (which I can't, of course, remember the name or maker of). We also grabbed some foam, which was ALOT more expensive than I was expecting! JoAnn's would just cut the foam to length but not width. So Jon brought home an electric knife from work and we did a little chopping! Then mom sewed up the cover! Now it is a great little nook to sit and get your shoes off and on.

The finishing touch was adding the three baskets shown below that I got at Target. They are from the Smith and Hawken line. I love the little chalkboards attached. We will keep our winter accessories hidden away in those!

Thank goodness my shoe mess is hidden away now!! And there is still plenty of room under there for more ;) We got the hardware for the bench doors at Lowes. Wheezy is glad the shoes are stored away now too. More space for her to sprawl out!

I didn't get a great picture of it, but you'll see below that opposite of the bench we hung a little coat rack type thing. I wish I would have taken a better shot of it because it is one of my favorite finds from an estate or garage sale. I found it in a barn (along with a lot of other great stuff!). It is a vintage, metal hanging with a little shelf type top. Super industrial looking. It's a little rusty/dusty and the perfect addition to the space.

The other major change was the floor. We decided on a faux wood vinyl to replace the old, faux tile/stone... or whatever you would call it. We both really like it. It is easy to clean and really makes a big difference in the feel of the hall. I think it looks and feels a lot more inviting and 'homey'.

Here is a picture of Wheez 'modeling' the floor. She actually slips on it pretty often. I thought that she might get use to it after a couple of months but she still seems to be having a hard time. If we have visitors she gets really excited and starts dancing around on the floor.... and sure enough a leg will always slip out from under her!

We painted the walls 'Retreat', an HGTV for Sherwin Williams color. We have used those HGTV colors quiet a bit in the house and I have been really happy with them. 'Retreat' was on the same matching color palette as the 'Sedate Gray' we used going up the stairs and in the upstairs hallway. It helps take the guess work out of matching!

Here is one last angle of the hallway. It also gives a little glimpse of the new light fixture we put in. It has a neat look to it and provides a lot more light than the old one. I am not TOTALLY in love with it though. I was having a hard time finding something I really loved for a decent price. Oh well! This one will do for now.
The mirror above the mail table was a great find at Goodwill. It was actually from Target and still in its original packaging. I had it hanging in our Oakmont townhouse but never liked the placement of it. In our new house I think this is the Perfect place for it! You can get one last peek at your hair and makeup before you rush out the door ;)

I am so happy with how this space turned out. It is so nice to walk in to after being gone all day. It looks fresher, happier and more inviting. I am proud to have people over now and know that this is the first thing they will see when they walk in.
 |
| Ms. Batista likes it too!! :) |
Hope you enjoyed this little tour! I think next up will be the baby's room. :) It is pretty much done now and Jon and I are so happy with it! Not too much longer before our little guy will be here to actually enjoy it!!


